
항상 ios 시뮬레이터로만 확인하다가 직접 핸드폰에 빌드해서 어플을 테스트해보니 아래 사진과 같이 키보드 창이 입력칸을 가리는 문제가 있다는 것을 알게 되었다.
보이던 화면에서 그대로 키보드가 올라오면서 패스워드 입력칸 같은 경우는 입력하면서 확인을 할 수 없었다.

이는 리액트 네이티브의 <KeyboardAvoidingView> 로 해당화면의 전체 뷰를 구성해주면 된다.
- behavior : 키보드에 반응하는 방식 지정
- keyboardVerticalOffset : 사용자 화면 상단과 리액트 네이티브 뷰 사이의 거리 지정
https://reactnative.dev/docs/keyboardavoidingview
KeyboardAvoidingView · React Native
This component will automatically adjust its height, position, or bottom padding based on the keyboard height to remain visible while the virtual keyboard is displayed.
reactnative.dev
그리고 기존에는 return 버튼을 눌러주지 않으면 키보드가 사라지지 않았는데, 리액트 네이티브의 <TouchableWithoutFeedback> 으로도 전체 뷰를 감싸주면 키보드 외부를 터치했을 때 키보드를 사라지게 해줄 수 있다.
아래와 같이 onPress={Keyboard.dismiss} 를 주어야 한다.
// [ 로그인 화면 ]

 ...
 import { ... KeyboardAvoidingView, TouchableWithoutFeedback, Keyboard } from 'react-native';
 ...

 const Login = ({navigation}) => {

	...

   return (
    <TouchableWithoutFeedback onPress={Keyboard.dismiss}>
      <KeyboardAvoidingView style={styles.main} behavior='padding' keyboardVerticalOffset={50}>
		...
      </KeyboardAvoidingView>
    </TouchableWithoutFeedback>
   );
 }

 const styles = StyleSheet.create({
 	...
 });

export default Login;이렇게 적용해준 결과
키보드가 나오게 되면 화면 구조가 약간 조정되면서 입력칸이 키보드의 위로 올라오게 된다.

하지만
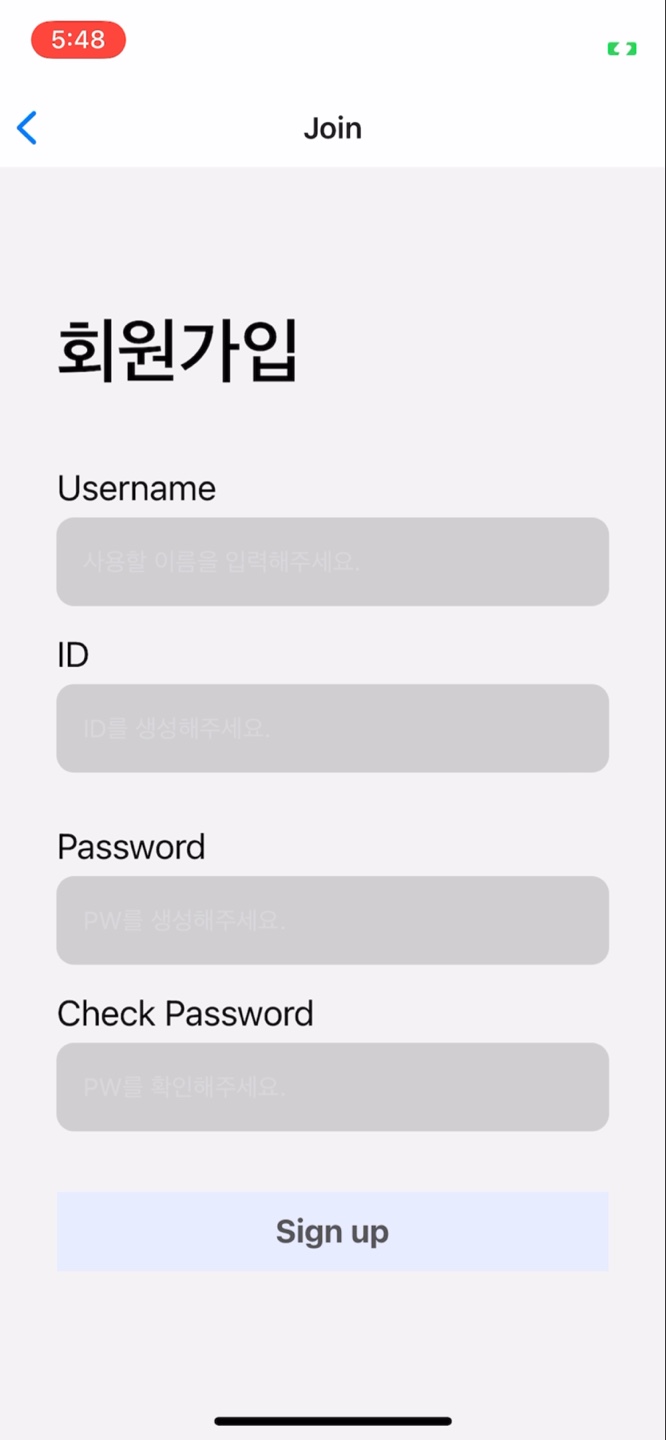
로그인 화면에서는 입력칸이 아이디와 패스워드 2개 뿐이었기에 문제가 없었는데, 회원가입 화면 같은 경우는 입력칸이 총 4개가 존재한다.
그래서 키보드가 올라오면서 화면 구조를 조정해도 이래쪽에 있는 입력칸은 여전히 가려지는 문제가 있다는 것을 발견했다.

이런 경우에는 키보드가 올라오면 화면을 스크롤해서 원하는 입력을 화면에 보이게 해 줄 필요가 있다.
react-native-keyboard-aware-scroll-view 의 <KeyboardAwareScrollView>를 사용하면 키보드가 올라오면 기존 화면을 스크롤 가능하게 해서 원하는 입력칸을 보이게 조정해 줄 수 있다.
https://github.com/APSL/react-native-keyboard-aware-scroll-view
GitHub - APSL/react-native-keyboard-aware-scroll-view: A ScrollView component that handles keyboard appearance and automatically
A ScrollView component that handles keyboard appearance and automatically scrolls to focused TextInput. - GitHub - APSL/react-native-keyboard-aware-scroll-view: A ScrollView component that handles ...
github.com
- react-native-keyboard-aware-scroll-view 설치
npm i react-native-keyboard-aware-scroll-view --save
적용 방법은 KeyboardAvoidingView와 유사한데, 스타일 지정에는 스크롤뷰 베이스 컴포넌트의 스타일 적용에 사용하는 props인 contentContainerStyle을 사용한다.
// [ 회원가입 화면 ]

import { ...TouchableWithoutFeedback, Keyboard } from 'react-native';
import { KeyboardAwareScrollView } from 'react-native-keyboard-aware-scroll-view'


const Join = ({navigation}) => {
	...
  return (
    <TouchableWithoutFeedback onPress={Keyboard.dismiss}>
      {/*ScrollView 베이스 컴포넌트에는 contentContainerStyle로 스타일 적용*/}
      <KeyboardAwareScrollView contentContainerStyle={styles.scrollViewStyle}>
		...
      </KeyboardAwareScrollView>
    </TouchableWithoutFeedback>
  );
}

export default Join;
'React-Native > React-Native 공부' 카테고리의 다른 글
| [ React-Native ] 드롭다운 형식 값 선택 (react-native-dropdown-picker) (0) | 2022.08.08 |
|---|---|
| [React-Native] 카메라, 갤러리에서 사진 불러오기 (react-native-image-picker) (0) | 2022.08.08 |
| [React-Native] 컴포넌트(Component), props, state, 이벤트(event) (0) | 2022.05.12 |
| [React-Native] 리액트 네이티브(React Native) 란? (0) | 2022.05.12 |